
New job, new tools, new processes. In my new job we’re using GitHub for source control, and because the data is sensitive we’re also using two factor authentication. Because I develop with Visual Studio that presents and interesting issue if you are using Visual Studio 2013’s build in Git Source Control provider.
After turning on Two Factor Authentication, the next time you have to communicate with GitHub (e.g. pull/push/sync’ing, etc.) it will pop up a dialog asking for your credentials, even if you already entered them previously before turning on 2FA.

You get an error message that looks like this:
An error occurred. Detailed message: An error was raised by libgit2. Category = Net (Error).
Response status code does not indicate success: 401 (Authorization Required).

Entering your credentials won’t do you any good. It won’t work. It will just request them again, ad infinitum.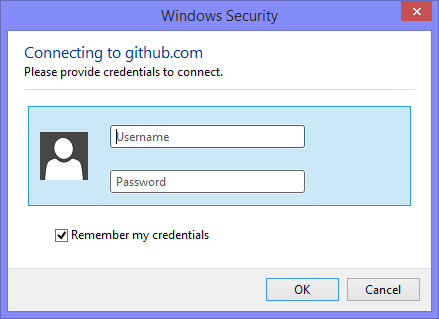
There is no where to enterthe 2FA code, so you can’t authenticate yourself here.
However, you can go to GitHub and create a personal access token in order that Visual Studio 2013 can access your repositories.
You can either drop down the menu on your avatar and go to “Settings”, then go to “Personal Access Tokens” (link in the side bar) or you can just go here https://github.com/settings/tokens.

Then click on “Generate New Token”. You’ll be asked for your credentials again just to be sure you are still you.

Once you’ve done that you’ll be taken to the page to create your credentials

For what Visual Studio wants the default permissions are fine. Also, give the token an appropriate name so it can be identified easily.
Then press “Generate token”.

You will then be taken back to the “Personal access tokens” page. This time there is a new token which you can use in Visual Studio. Be careful here, this is the one and only time you will be able to access this token so copy it and keep it safe.
Back in Visual Studio try and sync the commits to GitHub. It will pop up the credentials dialog again. This time you are going to enter the token in the username box and leave the password box blank.

Then press OK.
Finally, your changes will sync with GitHub and you’ll get a success message.
![]()

1 Comment